Tag Archives: cheesy

Ima Cheat, Making Cheesy Bacon Jalapeño Mini Corn Breads

I wanted to test out my new, “Square-shaped Mini Muffin Baking Tray.” Originally, I purchased it to make mini square cupcakes. Those I’ll make another day.

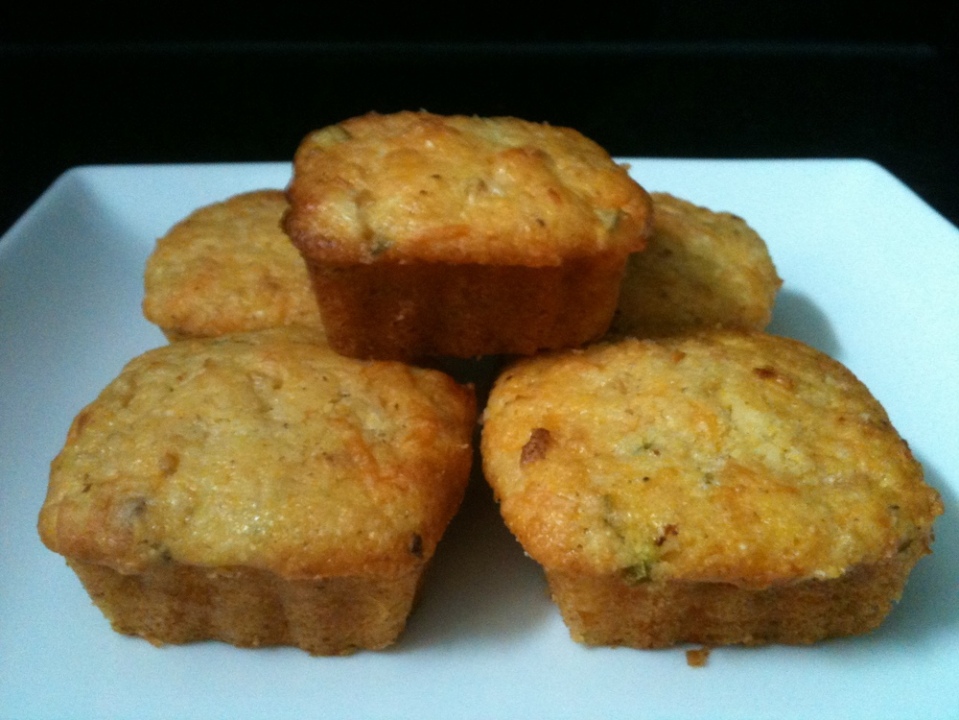
In lieu of the cupcakes, I decided to make mini corn breads; but with a twist. I’ve made corn bread from scratch before; but it was a pain. This is an easy recipe to make with good results.

Give it a try…

Ingredients:

  • 2 boxes Jiffy Corn bread Mix
  • 2 tbsp Sugar
  • ½ cup of Milk
  • ½ small Vidallia onion, finely diced
  • 2 eggs, lightly beaten
  • ½ tsp salt
  • ¼ tsp ground black pepper
  • 1 garlic clove grated
  • 2 cups shredded Monterey/Cheddar Cheese
  • 8 slices Center Cut Bacon, cooked and crumbled
  • 2 whole Large Jalapeno Peppers, seeded and finely diced
  • ¼ cup reserved bacon fat
  • 2 tbsp reserved bacon fat for greasing the tins.

Preparation:

Preheat your oven to 400⁰ F. Fry up the bacon, to a crisp, on low heat to render out the bacon fat.  Reserve the fat for use in the mix and to grease the tins. In the same skillet add the onion, jalapeño peppers and grate in the clove of garlic. Sweat the veggies for a few minutes over low-medium heat. Remove and add to the mixing bowl to cool.

Mix together the two boxes of Jiffy Corn Bread Mix. Add everything into a mixing bowl: the sugar, black pepper, salt, sweat veggies, eggs, milk, crumbled bacon, rendered bacon fat and cheese. Mix to combine, do not over mix the batter.  Let the batter rest for 15 minutes, before filling the mini muffin tins.

Lightly grease the muffin tins with some of the reserved bacon fat (PAM, if you so feel inclined). Fill the tins 3/4 from the top. Tap the baking tray on counter top and let it rest a few minutes before putting it in the oven.

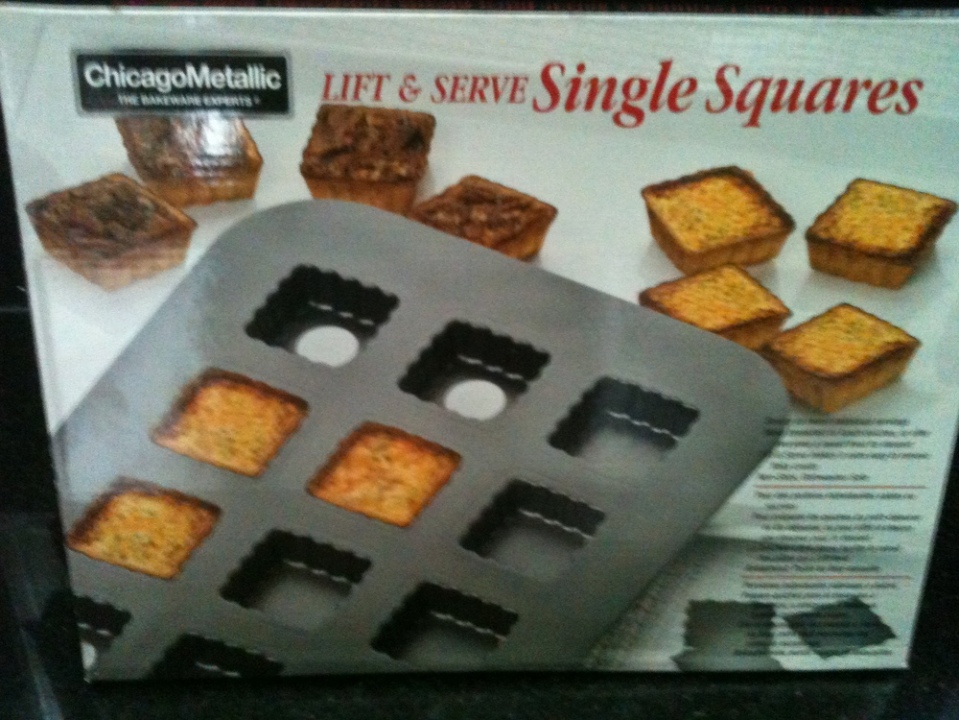
Above is the mini muffin baking pan I used.

Bake at 400⁰ F for about 17-20 minutes or until the edges start to turn golden brown. Use the tooth pick test to confirm they are done. Remove from the oven and let cool in the pan for 10 minutes.

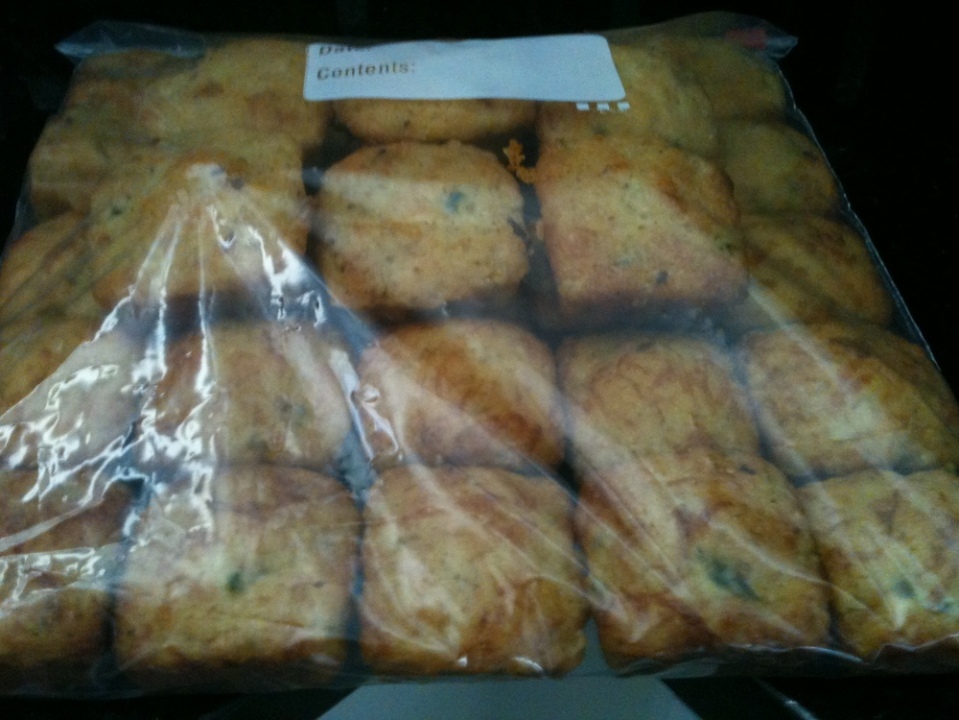
Finished product. I packed them into a zip lock for storage.  Reheat at 400⁰ F for 5 minutes to serve, or microwave for 15 seconds.

Enjoy…

Mac and Cheese Squares

I made this corkscrew pasta baked in a rich cheese sauce, with a touch of onion and cayenne pepper sauce, last Saturday night as a side to My Mouth Watering Ribs

I forgot to take a picture so I scanned the magazine and cropped this photo.

Ingredients:

  • 8 oz. mini fusilli (corkscrew) pasta 
  • 3 cups milk (I substituted one cup of milk, with a cup of chicken stock)*
  • 1/8 tsp. nutmeg (not in the original recipe)*
  • 1/4 tsp. sweet paprika (not in the original recipe)*
  • 1/4 cup all-purpose flour
  • 3 1/2 cups shredded sharp (I substituted mild)* cheddar cheese, about 14 oz.
  • 2 tsp. cayenne pepper sauce (Frank’s Red Hot)
  • 1/2 tsp. salt (I substituted only 1/4 tsp. of Nature’s Seasoning)* cheese has enough salt
  • 2 scallions chopped (I substituted 1/4 cup of sweet onions and chives instead)*

Preparation:

Preheat oven to 375 °F. Cook pasta according to package directions (al dente), then drain and rinse under cold water to stop the cooking process.

Meanwhile, coat a 2-quart 11″x7″ baking dish with cooking spray (I used butter).  In a large pot, whisk together milk and flour.  *Resist from making a rue, the fat count will shoot through the roof (not that it isn’t already high enough).  Over medium-high heat, bring the mixture to a boil, while continuously whisking. Reduce the heat to a medium-low and continue whisking until thickened (about 5 minutes). If the mixture get’s too thick, thin it out with a little more broth or milk.  Remember you will be adding the cheese to this mixture and it will thicken more.

Whisk in 3 cups of the cheese (reserving the 1/2 cup for later), pepper sauce and salt, cook whisking until melted and smooth.  With a spoon/spatula, stir in the pasta and the scallions. Transfer the mixture to your baking dish and smooth out the top. Sprinkle the 1/2 cup of reserved cheese (more if you’d like – I did).

Bake for about 20 minutes, until hot and bubbly. If the top hasn’t browned (like when I made it) tur on the broiler (low) and brown the top for about 5 minutes (check it often, so you don’t burn it). Cool slightly before cutting out the squares. Serve it up and enjoy.

My method for judging whether I like a recipe or not is as follows: Taste what you made the next day, after it has had time to chill in the fridge.  If it doesn’t taste good cold, it will never taste good hot.  *Make it the day before (cook it for 15 minutes) without browning the top. When you are ready to serve, reheat and brown as described above.  It will taste even better the next day or two after you have given the flavors time to develop.

I won’t bore you with the nutritional data. Suffice it to say, super high numbers for fat, calories, carbs, sodium and cholesterol. Whatever… it was so good, I am making it again this weekend.